
Blog
Customizing Diecast Models: A Step-by-Step Guide for Beginners
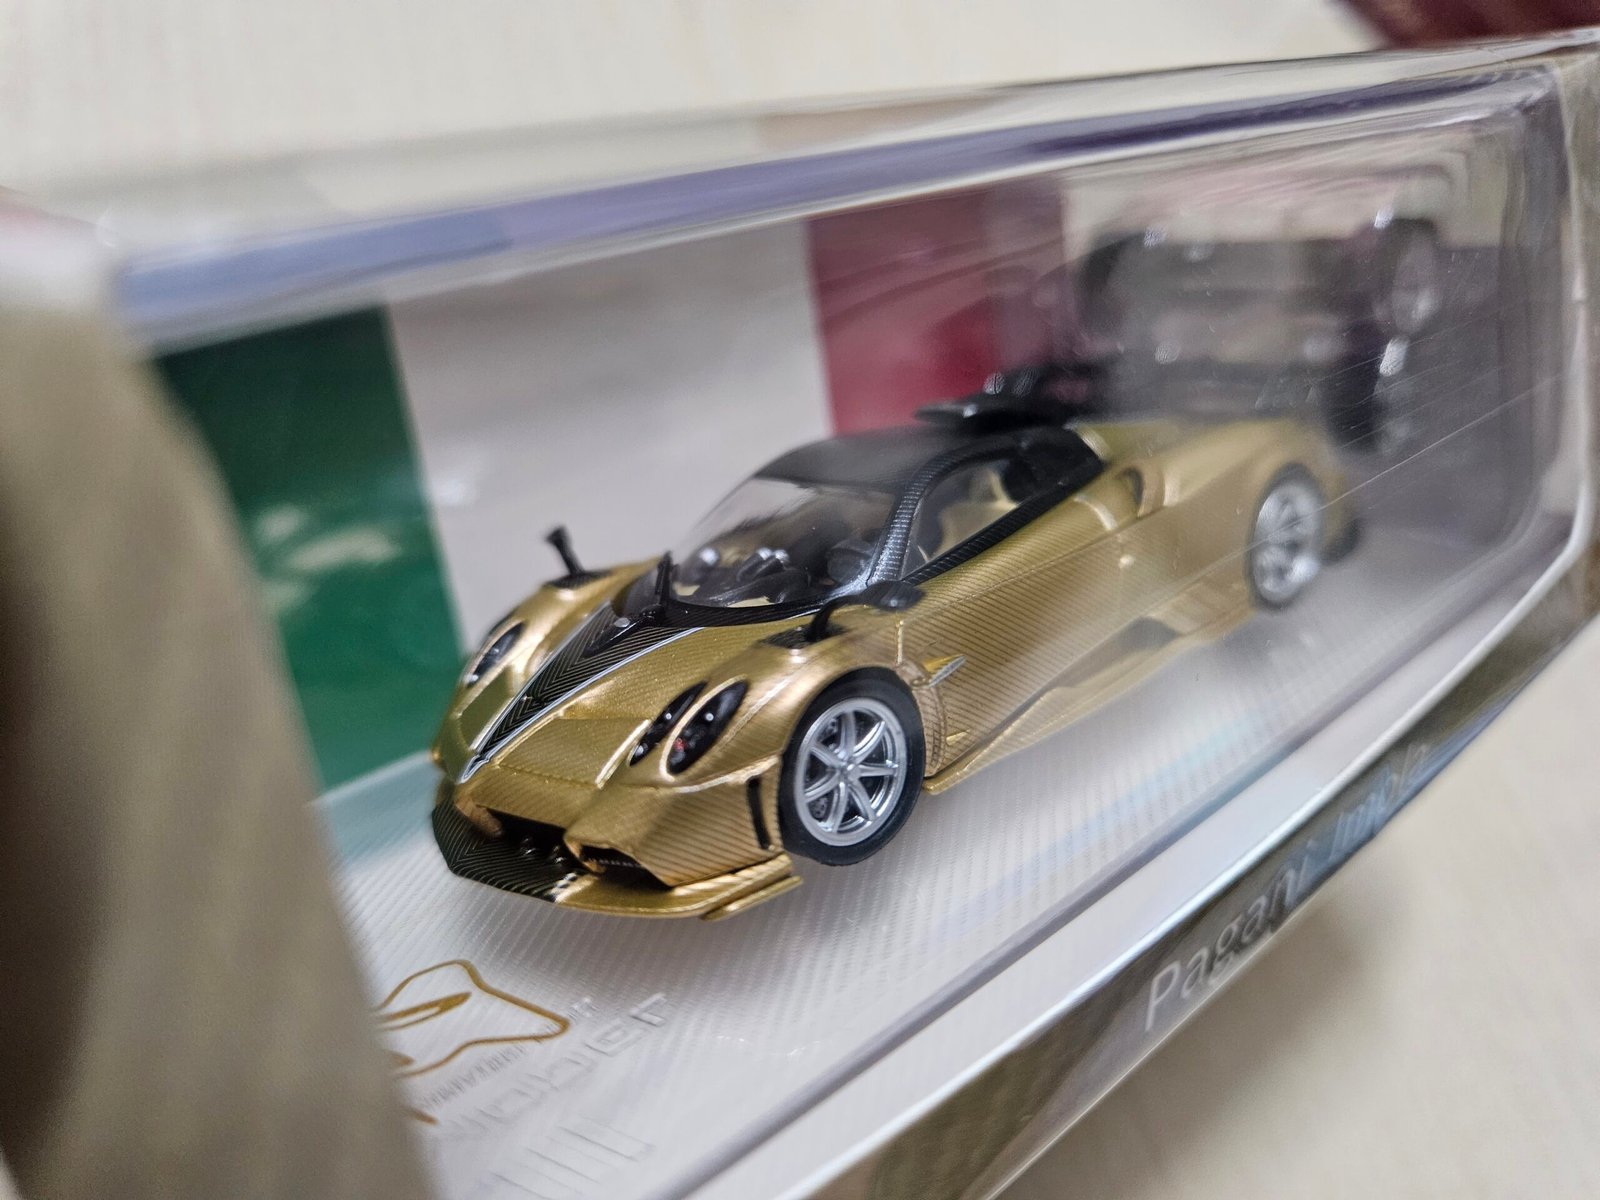
Customizing diecast models: a step-by-step guide is essential for hobbyists who want to add a personal touch to their collection. Whether you have the 1:64 scale McLaren 720S priced at Rs.3,000 or the 1:18 scale Ford Mustang GT available for Rs.11,000 at Drool Over Diecast, customizing can bring new life to these miniature masterpieces.
Step 1: Disassembling the Diecast Model
The first step in customizing diecast models is careful disassembly. Use a precision screwdriver to remove screws from the chassis and body. Take pictures during each step so you remember how to reassemble it later. Models like the AutoArt Nissan GT-R 1:18 (Rs.11,499) are highly detailed, so take extra care.
Step 2: Stripping and Preparing the Surface
To repaint, you’ll need to strip the original paint. Soak the diecast shell in paint stripper, then gently sand it with 600-grit paper. This step is crucial in customizing diecast models: a step-by-step guide.
Mask off areas you don’t want to paint with tape. Use fine-grit sandpaper to smooth the surface before applying a primer. A clean, prepped model makes all the difference.
Step 3: Painting and Detailing
Use an airbrush or fine paintbrush for best results. Apply primer first, then multiple thin coats of paint. Let each coat dry fully. You can use high-gloss colors to mimic factory paint jobs or go with matte for a stealth look.
For example, painting a Bburago Mercedes-Benz AMG GT (Rs.2,790) in matte black with red accents gives it a sporty, customized vibe. Add decals or pinstripes to boost realism.
Step 4: Wheel Swaps and Interior Mods
Customizing diecast models also includes upgrading wheels and interiors. You can replace stock wheels with racing rims or chrome-finished alloys. For interiors, paint the dashboard or seats, or install carbon fiber decals.
The MotorMax Dodge Charger 1:24 (Rs.1,850) is a great base model for wheel swaps, giving it a muscle-car makeover.
Step 5: Reassembly and Final Touches
Once all parts are painted and dried, begin reassembling. Use tweezers for small components. Ensure that all screws are tight and moving parts function properly. Customizing diecast models: a step-by-step guide wouldn’t be complete without this final phase.
Apply a clear coat for paint protection and shine. Finally, place your custom model back on display—maybe even alongside the original to see your transformation.
Once the paint and decals are dry, reassemble your model and add a protective clear coat to seal your customization. This step completes customizing diecast models beautifully.
Drool Over Diecast offers many detailed models like the 1:43 scale BMW M4 (Rs.6,500), perfect for customizing enthusiasts who want to start with high-quality bases.
Get started on customizing diecast models today with this step-by-step guide and your favorite Drool Over Diecast collectibles!
 1:18 Models
 1:43 Models
 1:64 Models
 Singles
 Frontiart Brand 1:64 Models


 1:64 Models
